Disclosure: This post contains affiliate links. That means if you click on a link and make a purchase, I may earn a small commission at no extra cost to you. I only recommend products that I personally use and love. Thank you so much for your support — it helps me keep this blog going!
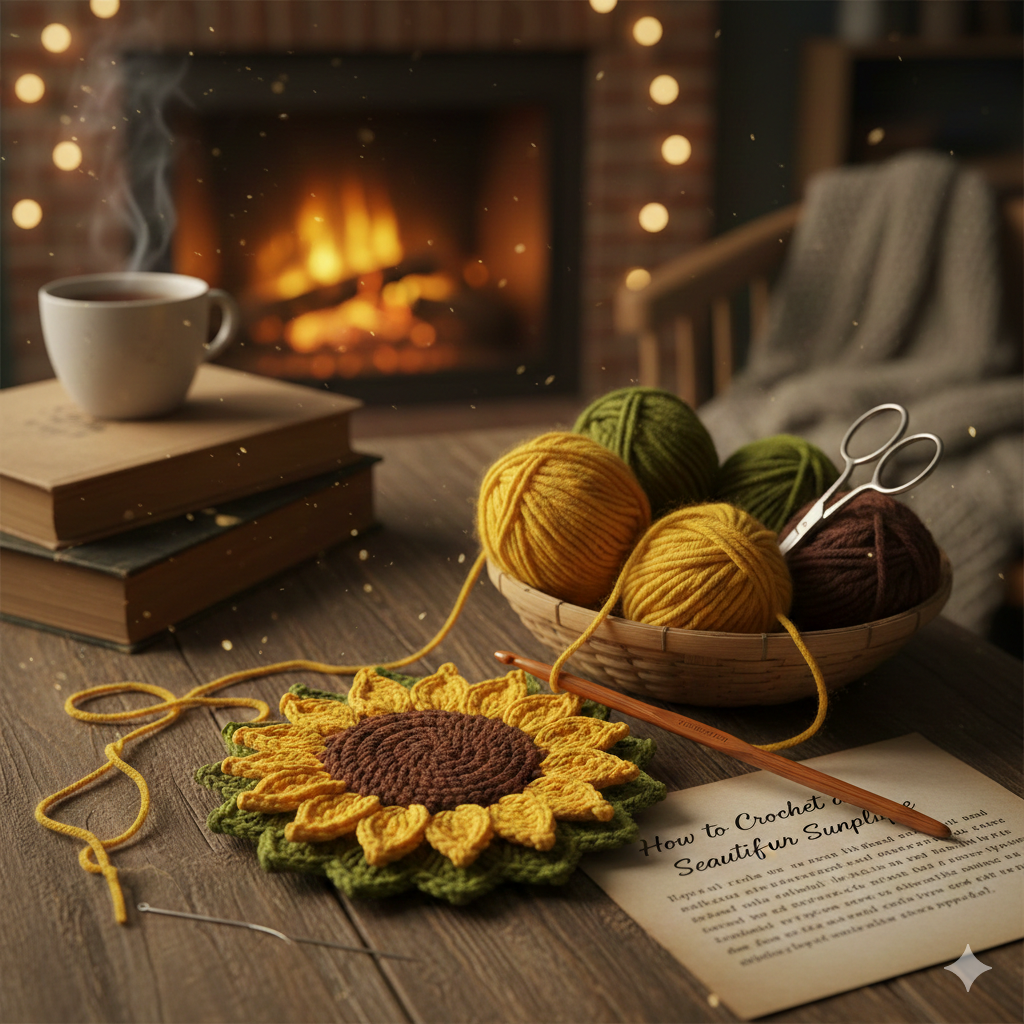
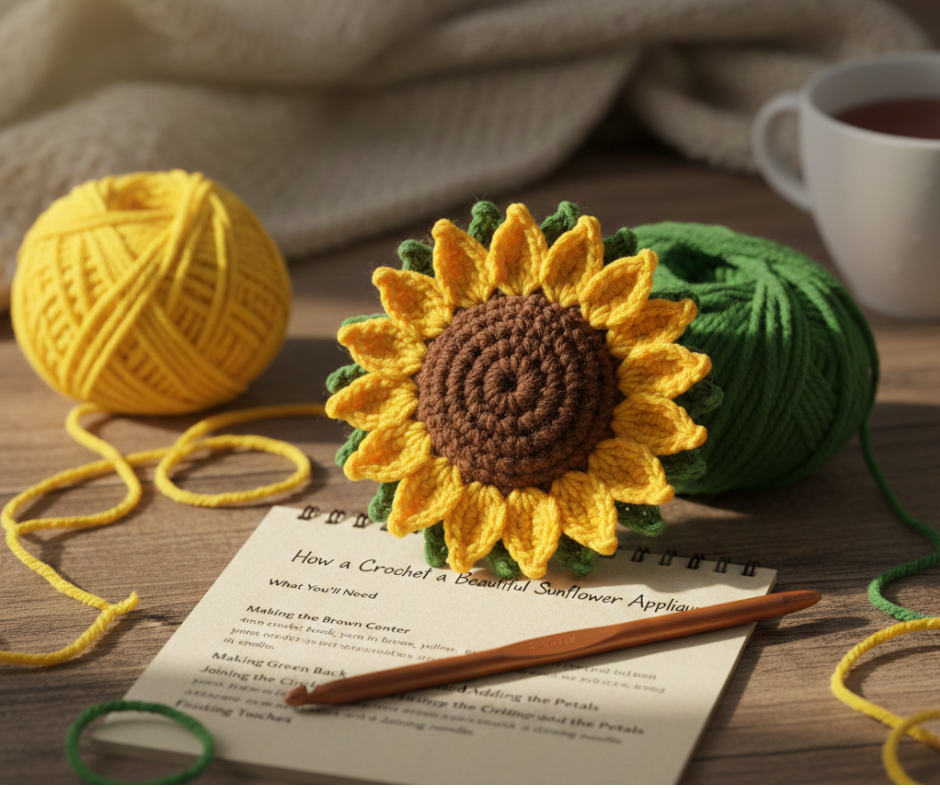
How to Crochet a Beautiful Sunflower Applique
If you’re looking for a fun and rewarding crochet project, this sunflower applique is the perfect place to start. Whether you want to brighten up a tote bag, decorate a hat, or add a pop of color to a pillow, this cheerful little flower is surprisingly simple to make and looks absolutely stunning when it’s done.
What You’ll Need
Before you dive in, gather your supplies. You’ll need a 4mm crochet hook, [affiliate] yarn in brown, yellow, and green, a pair of scissors, and a darning needle for weaving in your ends. That’s it — simple and straightforward.
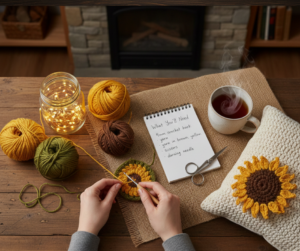
If you want to follow along, you can click on the button to watch the full tutorial.
Making the Brown Center
Start by making a magic circle with your brown yarn. If you’re not familiar with the magic circle technique, don’t worry — you can also create a starting ring using a more traditional method. Once your circle is set up, chain three and work 11 double crochets inside the ring, giving you 12 double crochets total. Pull the magic circle tight, then slip stitch into the first chain to close the round.
From here, you’ll move one stitch to the left, slip stitch again, and chain two. In that same stitch, add one more double crochet, then work two double crochets in every stitch around the circle. This brings your total up to 24 double crochets, creating a neat, flat disc. Slip stitch to the top of your first stitch to finish, cut your yarn, and weave in the ends with your darning needle.
Making the Green Back
Next, repeat the exact same process using your green yarn. This circle will form the back of the sunflower, sandwiching the petals between the two layers. Once complete, weave in your ends just like before.
Joining the Circles and Adding the Petals
Place the brown and green circles with their wrong sides together. Make a slip knot with your yellow yarn, insert your hook through both layers, and pull the slip knot through to join them. Now comes the fun part — the petals!
Chain seven loosely, then turn your work and skip the first chain. Working back down the chain, you’ll create a pointed petal shape by crocheting: one single crochet, one half double crochet, one double crochet, one triple crochet at the tip, then back down with a double crochet, a half double crochet, and a final single crochet through both layers of the flower center. That’s your first petal!
Continue chaining seven and repeating this sequence all the way around the circle until you’ve worked every stitch. When you reach the end, slip stitch into the last stitch to close, cut your yarn, and weave in those final ends.
Finishing Touches
If your petals are curling a bit, simply dampen them with a spray bottle or a wet cloth and press them flat. For a more natural look, try alternating petals — pushing one to the front, the next to the back, and so on. It gives the flower gorgeous dimension and makes it look like it’s truly in bloom.
Happy crocheting!